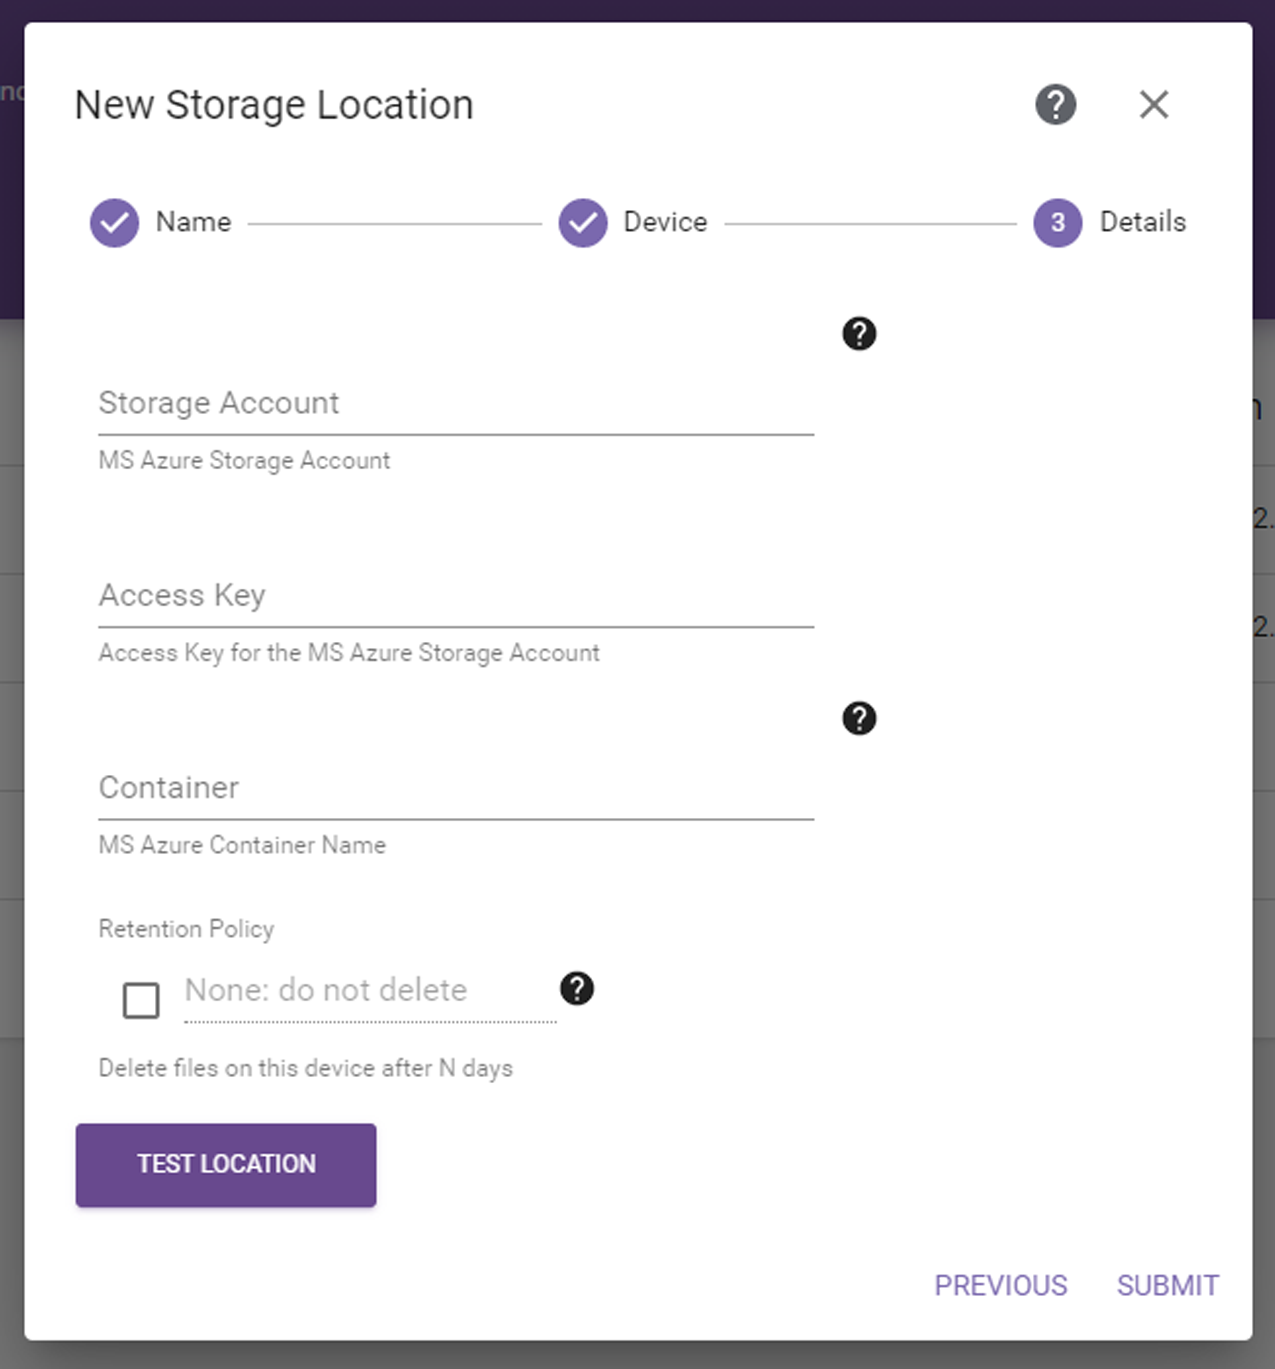
Enter Microsoft Azure Archive Storage Location Information

Notes: 

To enter a Microsoft Azure standard tier storage location, see Enter Microsoft Azure Storage Location Information.
Microsoft Azure Archive storage locations can only be target locations.

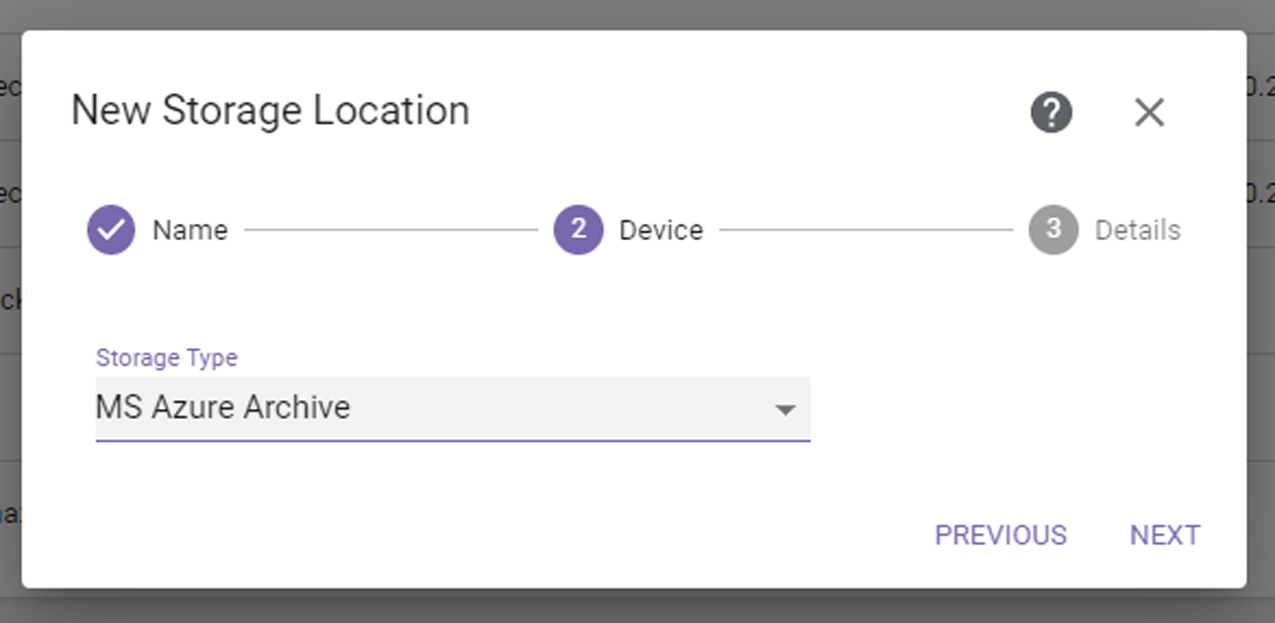
If you select the MS Azure Archive storage type, the dialog box displays as shown:

Figure 60 The New Storage Location MS Azure Archive Device dialog box.

1. Click Next. The MS Azure Storage Location Details dialog box displays.

Figure 61 The New Storage Location MS Azure Archive Details dialog box.

2. Enter a Microsoft Azure Storage Account for the container that will be used for data storage.
3. Enter the Access Key for the Storage Account.
4. Enter the name of the Container to be used for data storage.

CAUTION 

Make sure the storage account is configured for blob versioning to avoid migrate / store failures if a file with the same name already exists in the container.

The container name must adhere to the Microsoft Azure naming requirements. If the container does not exist, it is created.

Container names have the following restrictions:

Container names must comply with DNS naming conventions.
Container names may contain lower case letters, numbers and single dashes.
Dashes must be preceded by and followed by letters or numbers.
Bucket names must be at least 3 and no more than 63 characters long.
5. If desired, select the Retention Policy check box and enter or select the desired number of days to retain files on this storage location before the StorCycle solution automatically deletes the files for compliance or capacity recovery. Clear the Retention Policy check box to keep files permanently. See Retention Policy Best Practices for more information.
Note: Retention policies are only supported for data center and enterprise licenses. See Licensing for more information.
6. Click Test Location to verify that the server can connect to the storage location. If the StorCycle solution does not return a check mark indicating it can communicate with the storage location, you must resolve the error before submitting the location.
7. Click Submit to save the storage location.
8. If necessary, repeat these steps, starting with Step 2 in Configuring Storage to configure additional storage locations.