Linked Instances
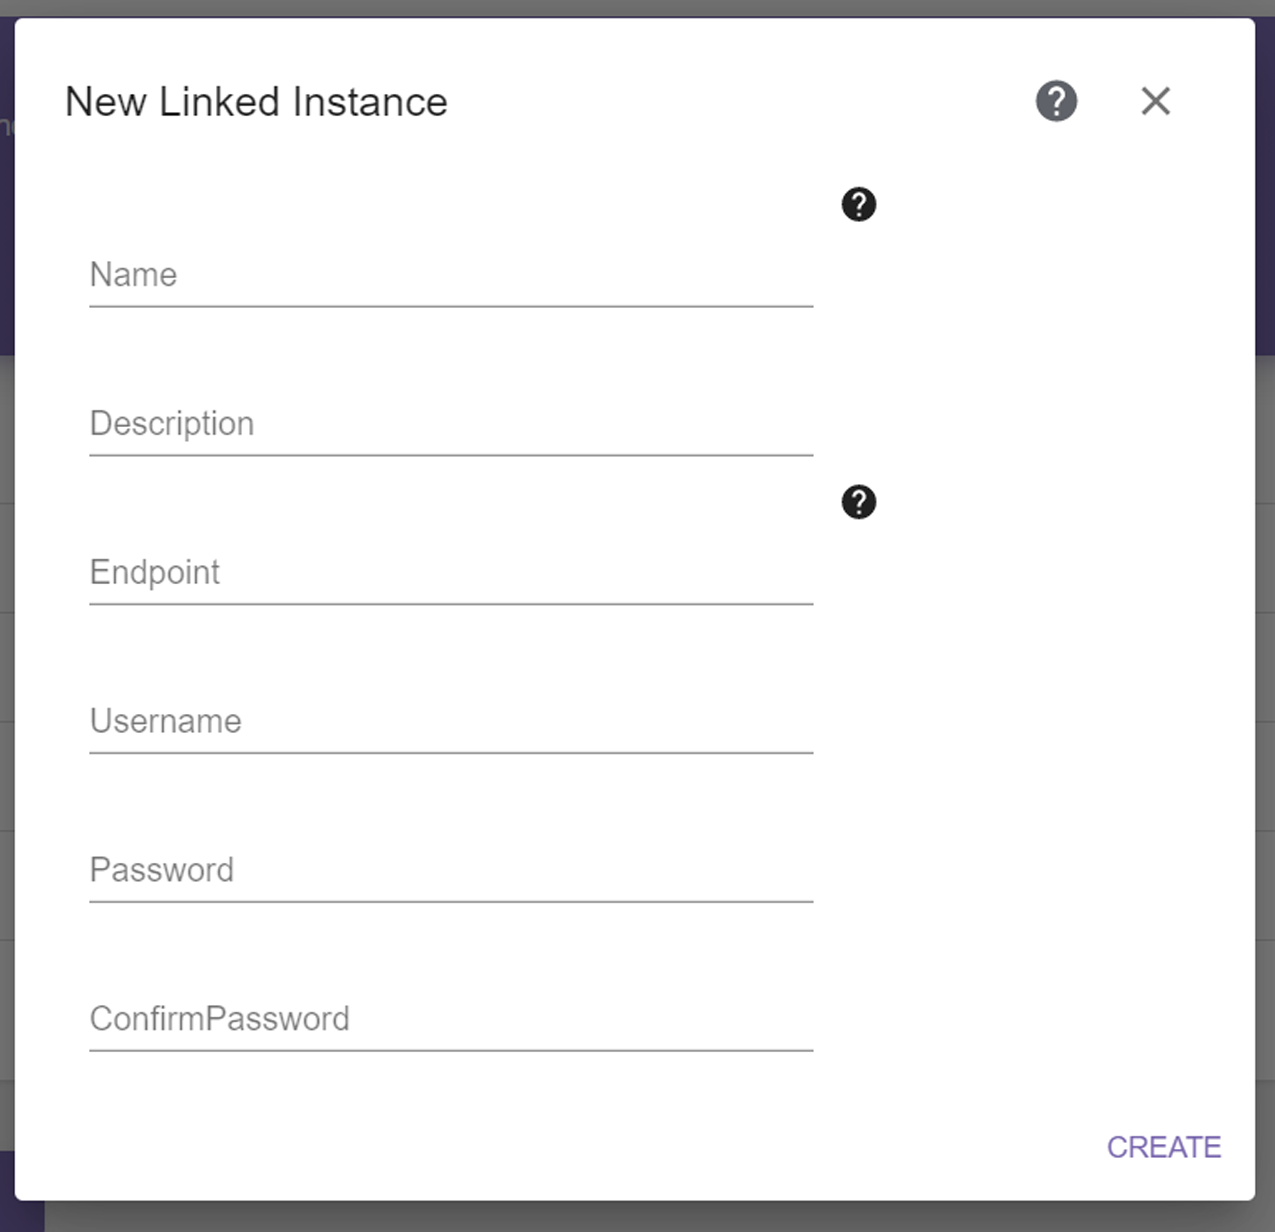
Configure linked instances to search for data managed by other StorCycle solution installations. The linked instance can be on the same server platform (Windows or Linux) or a different platform.
|
Note:
|
All StorCycle instances must be at StorCycle version 3.5.0 to be linked. |
Use the instructions below to configure a linked instance.
|
1.
|
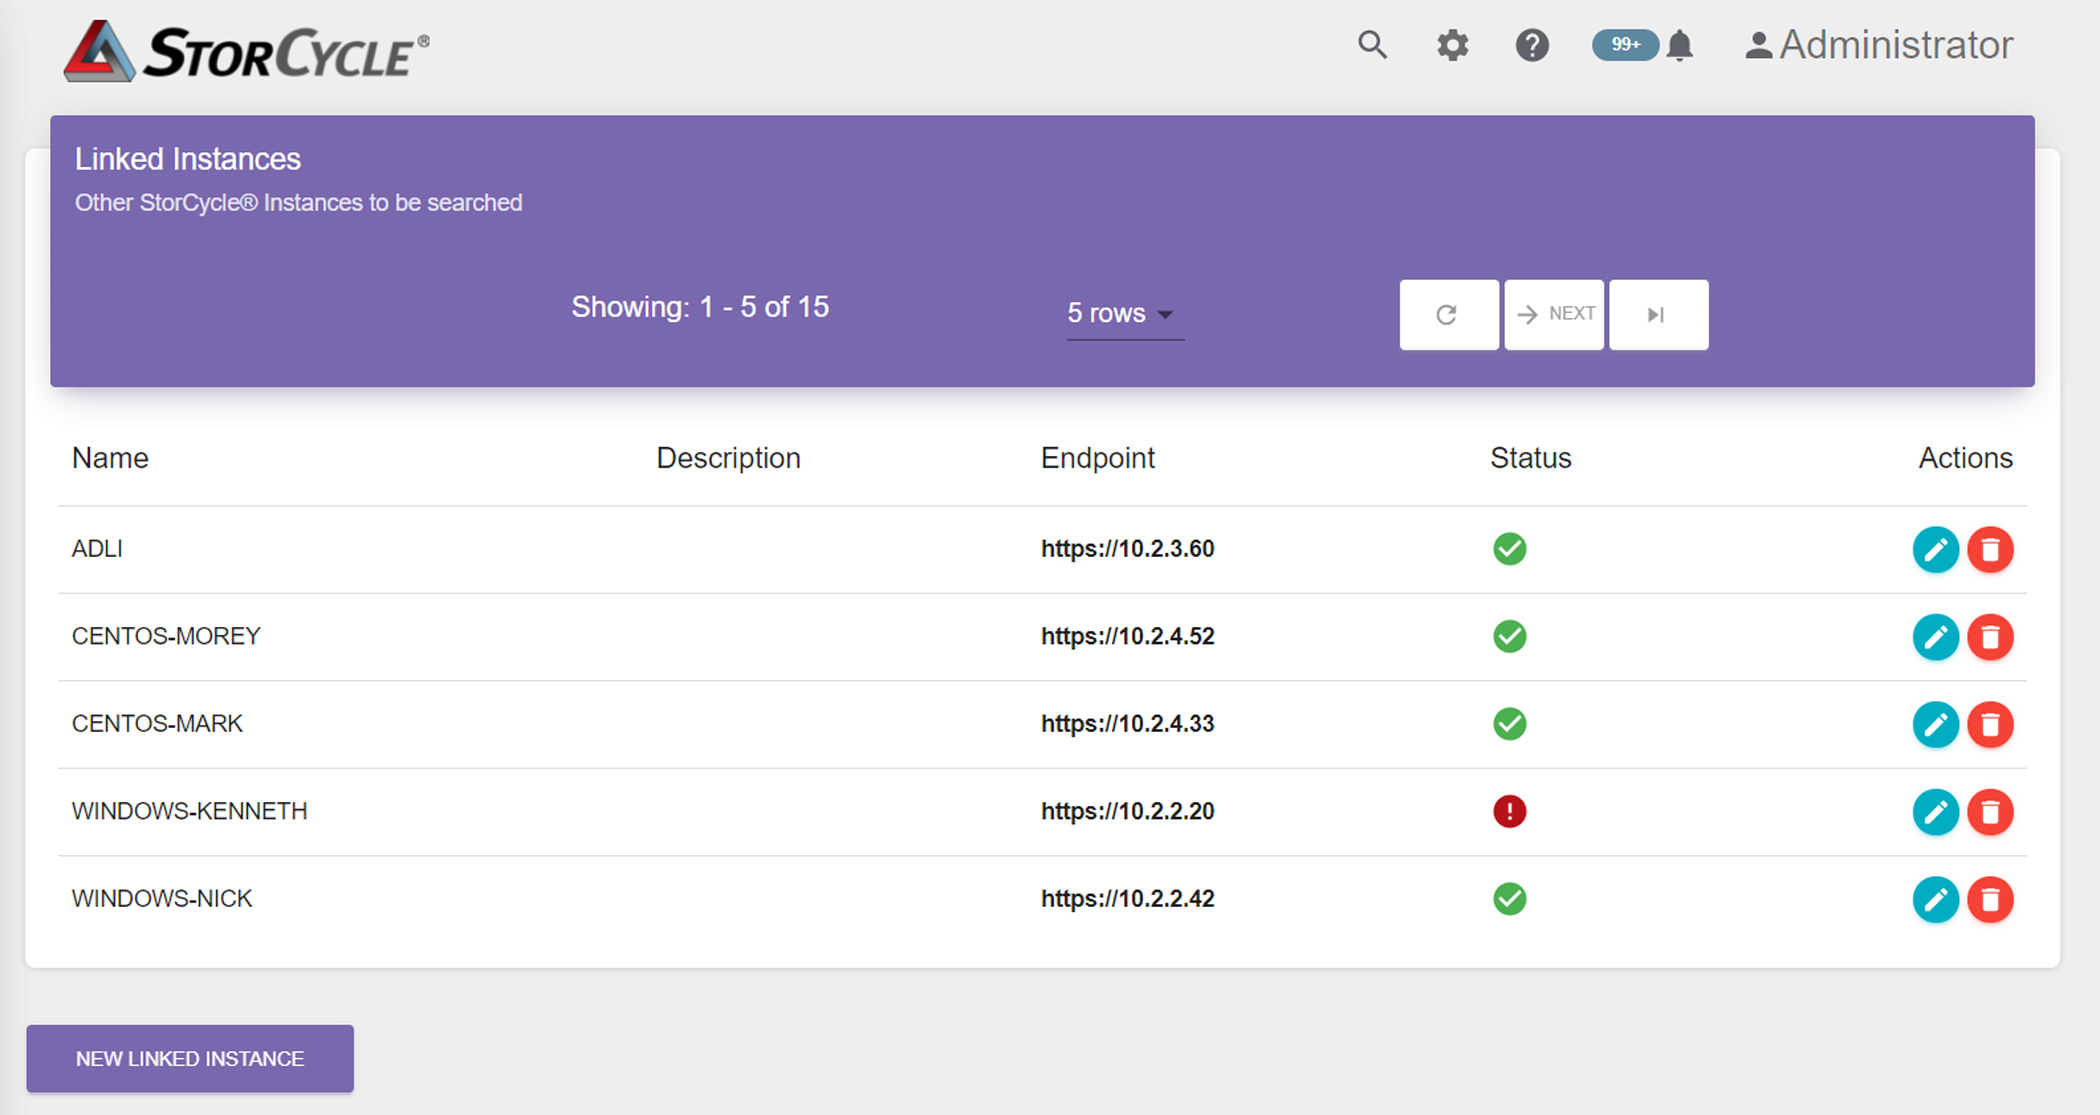
Click Settings  in the toolbar and then select Linked Instances. The Linked Instances screen displays showing all currently configured linked instances. in the toolbar and then select Linked Instances. The Linked Instances screen displays showing all currently configured linked instances. |
|
Note:
|
Linked instances are not bi-directional. If you want StorCycle instance A and StorCycle instance B to be able to search the other's managed data, you need to create a linked instance from StorCycle instance A to StorCycle instance B and then another from StorCycle instance B to StorCycle instance A. |
Edit a Linked Instance
To edit a linked instance, click Edit  next to the linked instance on the Linked Instances screen (see Figure 32). Edit the Description, Username, or Password as desired and click Update.
Delete a Linked Instance
To delete a linked instance, click Delete  next to the linked instance on the Linked Instances screen (see Figure 32). A confirmation screen displays. Click Delete to confirm the linked instance deletion.