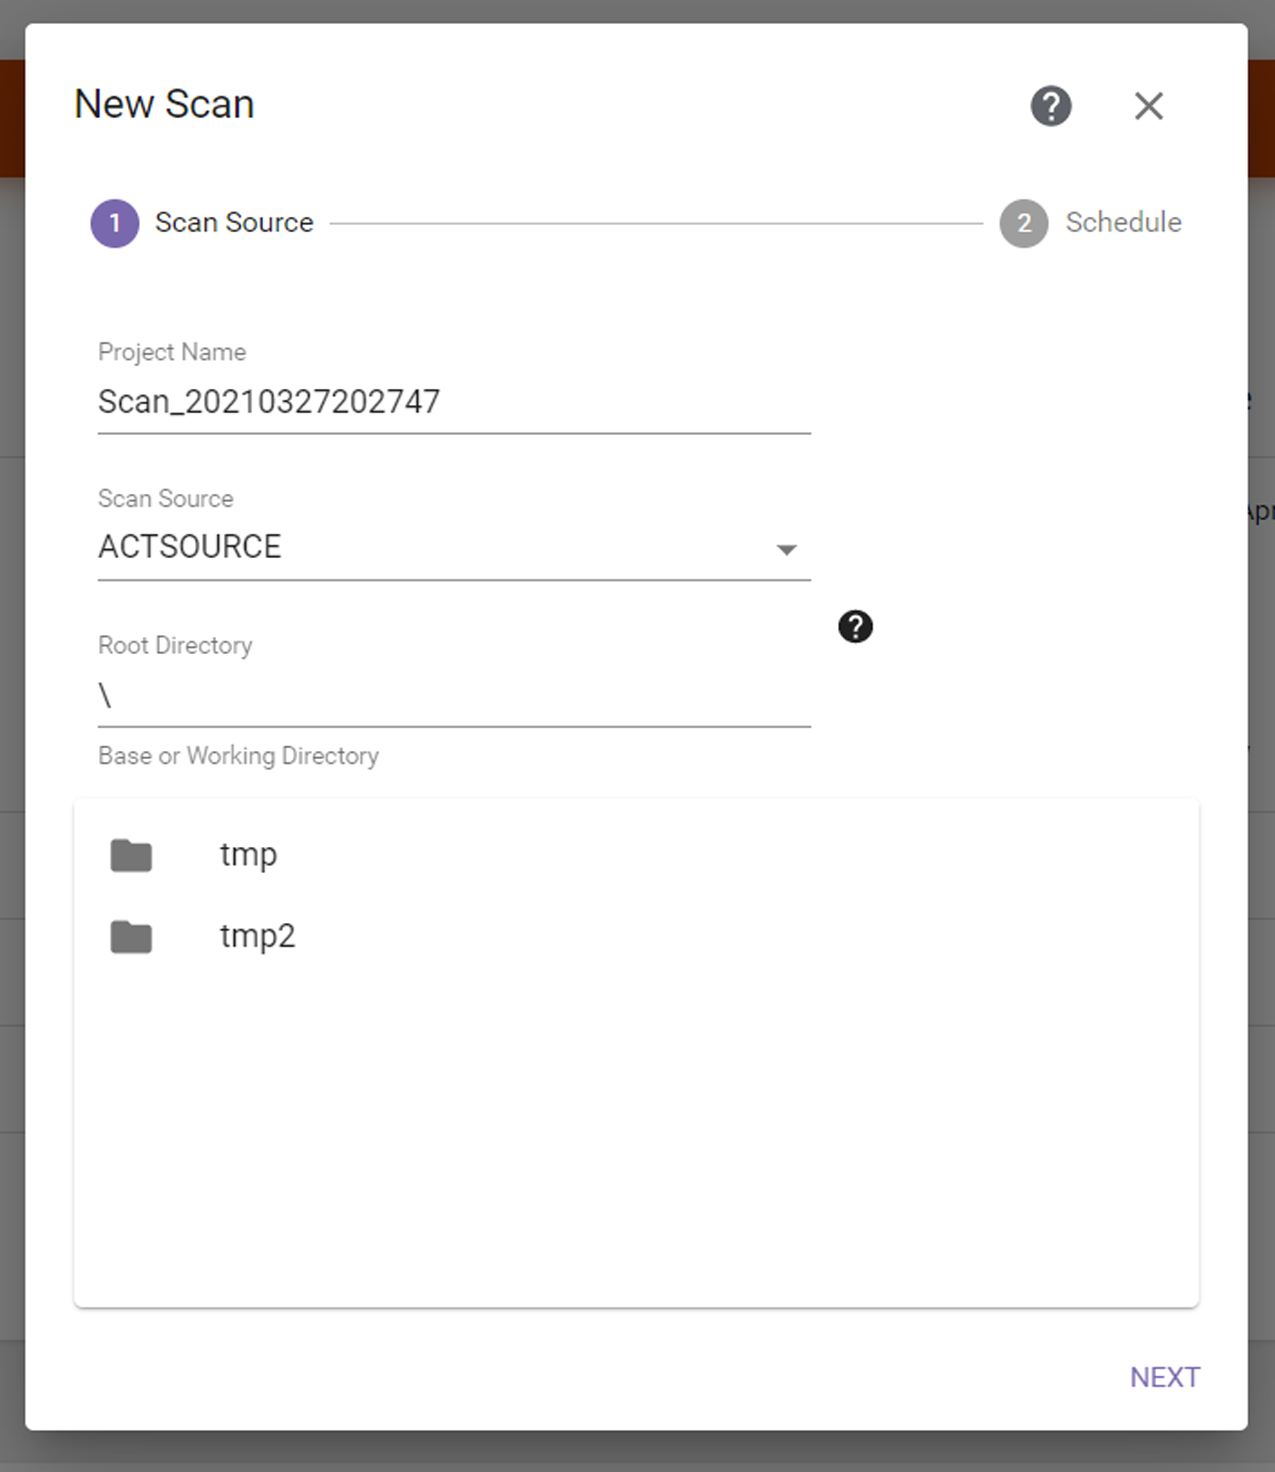
Scan Wizard—Scan Source

The Scan Source screen of the Scan wizard allows you to configure the scan name and scan source.

Figure 71 The Scan Source screen of the Scan wizard.

1. If desired, edit the Project Name for the scan.

IMPORTANT 

A project name must be unique across all scan, migrate / store, restore, and database backup projects. Names of deleted projects cannot be reused.

2. From the Scan Source drop-down, select a previously configured storage location (see Configure Storage) or select Create New Source and enter a name and the UNC path to create a new Non-Spectra NAS storage location.

Notes: 

Only storage locations configured as a Source storage location type are listed in the drop-down.
Create New Source is only available for an Administrator user. The storage location created with Create New Source has the following defaults:
Storage Type: Non-Spectra NAS
Storage Location Type: Source
Description: Created for project: <project_name>
Department and Cost/TiB: blank
Do Not Limit Transfer During Peak Hours
3. If you are using a previously configured storage location, you can select a sub-directory on the source as the starting point (Root Directory) for the scan.
4. Click Next to continue.

Continue with Scan Wizard—Schedule