Create a Node Using Oracle VirtualBox
Here is how to create a Vail VM node using a VMDK file using Oracle VirtualBox. These instructions are specific to the Windows version of Oracle VirtualBox and require familiarity with VM software.
|
1.
|
If the Vail VM image file was provided to you by Spectra Logic, skip to Step 2. Otherwise, download the latest Vail VM node image: |
|
a.
|
In the Vail management console, click the gear icon, then Software Updates. |
|
b.
|
Click Download VM Image. |
|
Note:
|
The file size is approximately 800 MB. |
|
2.
|
After the download completes, unpack the file. |
|
3.
|
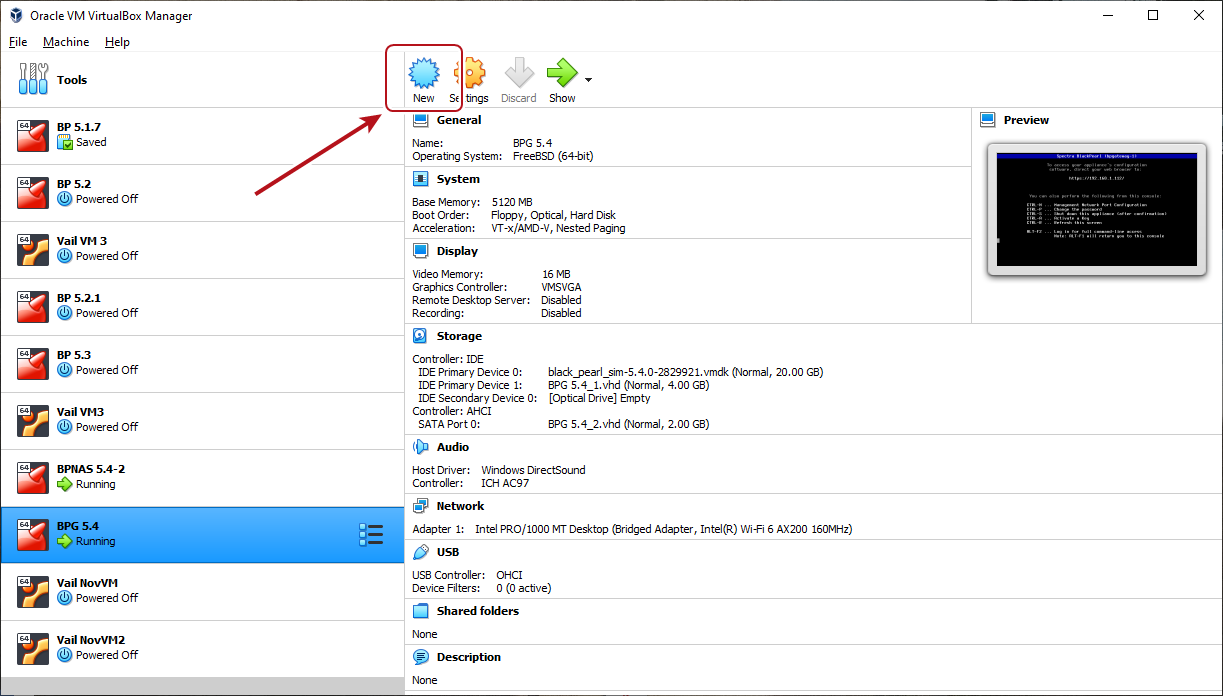
Launch Oracle VirtualBox. |
|
5.
|
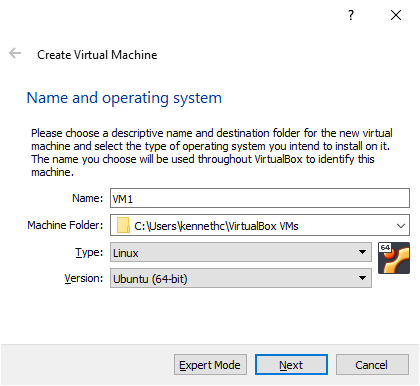
Enter the desired Name. |
|
6.
|
If desired, change the Machine Folder location. |
|
7.
|
Using the Type drop-down menu, select Linux. |
|
8.
|
Using the Version drop-down menu, select Ubuntu 64-bit. |
|
Note:
|
If you are asked to select the number of CPUs to use for the Vail VM, use the default setting. |
|
10.
|
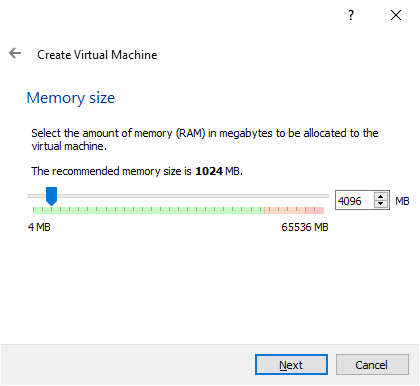
Set the Memory size to 4096 MB and click Next. |
|
11.
|
Select Use an existing virtual hard disk file, and click the folder icon to the right of the drop-down menu. |
|
12.
|
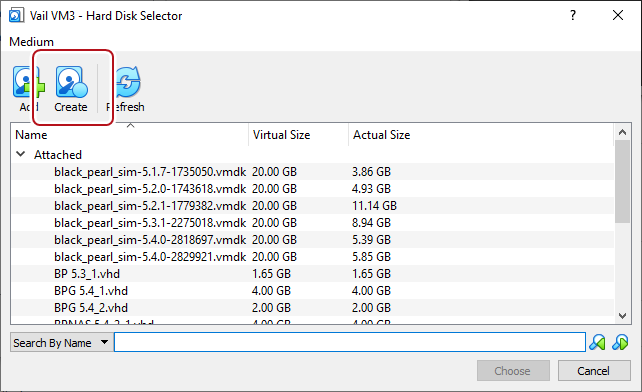
In the Hard Disk Selector screen, click Add, and browse to the VMDK you unpacked in Step 2. |
|
13.
|
Select the file and click Open. |
|
14.
|
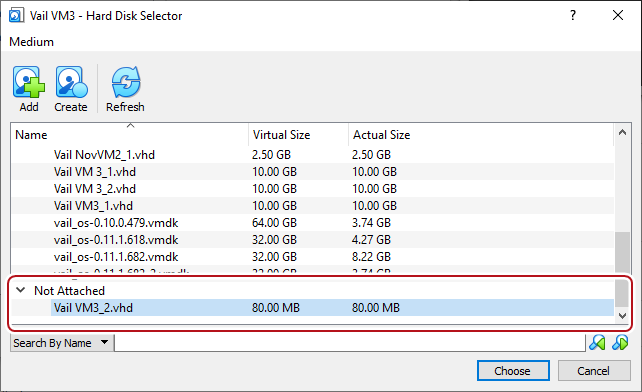
Under the Not Attached header, select the row of the new hard drive, then click Choose. |
|
15.
|
On the Create Virtual Machine - Hard disk screen, click Create. |
|
16.
|
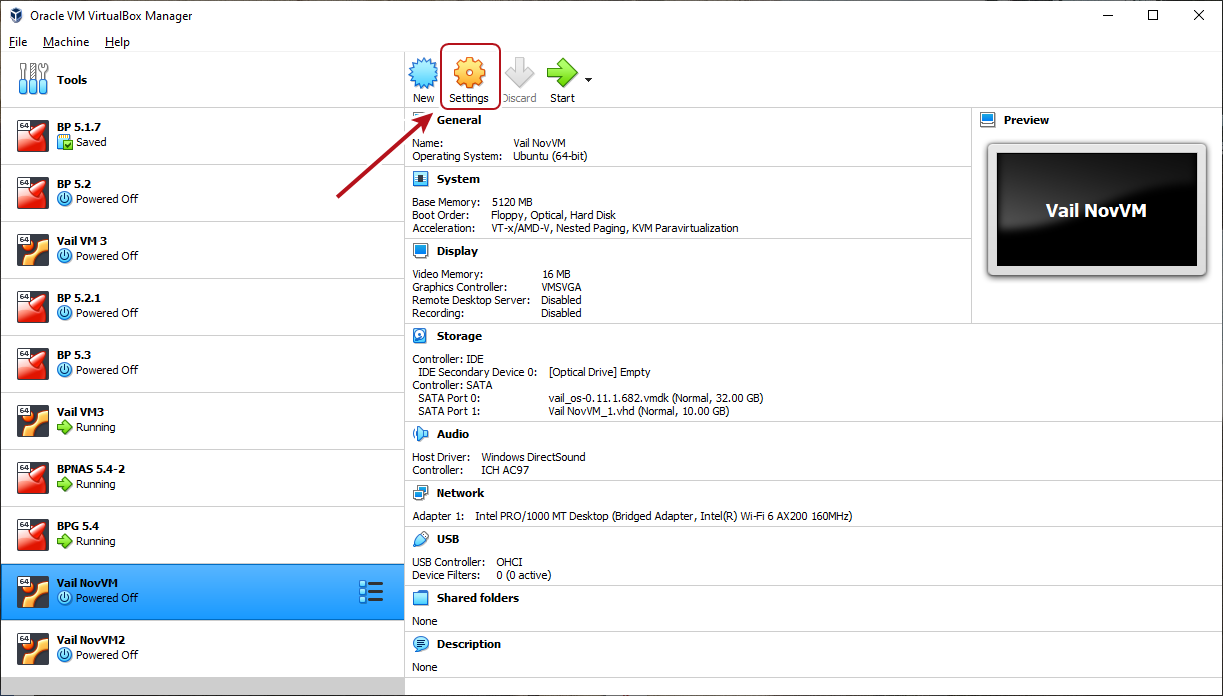
After the VM is created, click Settings. |
|
17.
|
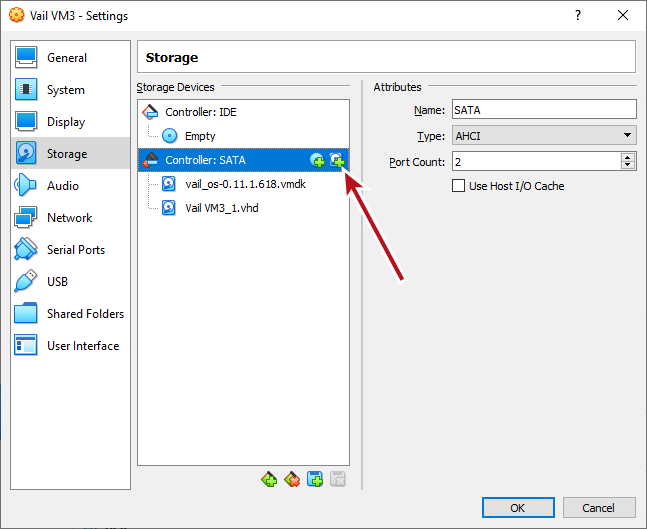
In the left-hand pane of the Setting screen, click Storage. |
|
18.
|
Select the Controller: SATA row, and click the Add hard disk icon. |
|
20.
|
Select VHD (Virtual Hard Disk) and click Next. This is the disk the Vail VM node uses for data storage. |
|
Note:
|
If you increase the size of the drive after creating the Vail VM, the Vail application recognizes this change and allows you to use the newly available storage space. |
|
21.
|
Choose to allow the virtual hard disk to be Dynamically allocated, or to have a Fixed size, and click Next. |
|
22.
|
Configure the VHD file and size in GB, then click Create. |
|
Note:
|
The size displays as GiB in the Vail management console. |
|
23.
|
In the Not Attached list, select the row of the new hard drive, then click Choose. |
|
24.
|
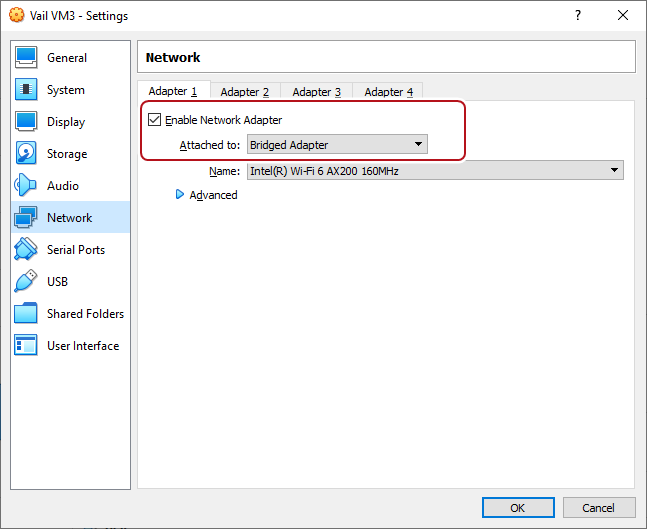
In the left-hand pane of the Settings screen, click Network. |
|
25.
|
Using the Attached to: drop-down menu, select Bridged Adapter. |
|
26.
|
If necessary, click the blue Advanced arrow to configure additional settings for your network environment. |
|
27.
|
Click OK to close the Settings window. |
|
28.
|
In the Oracle VM Manager main window, select the VM, and click Start. |
|
29.
|
When the VM boot completes, press Enter. If a DHCP server is configured, the IP address of the Vail VM node displays. |
|
Notes: l
|
Do not close the VM window. |
|
l
|
If no DHCP server is configured, contact Spectra Logic Professional Services to set a manual IP address. |
|
l
|
You can change the network configuration of the Vail VM node after logging into the Vail VM management console. |
|
30.
|
Open a web browser and enter the IP address. You are automatically logged in to the Vail VM user interface. |
|
Note:
|
The Vail VM node management console does not require any login credentials at this time. |