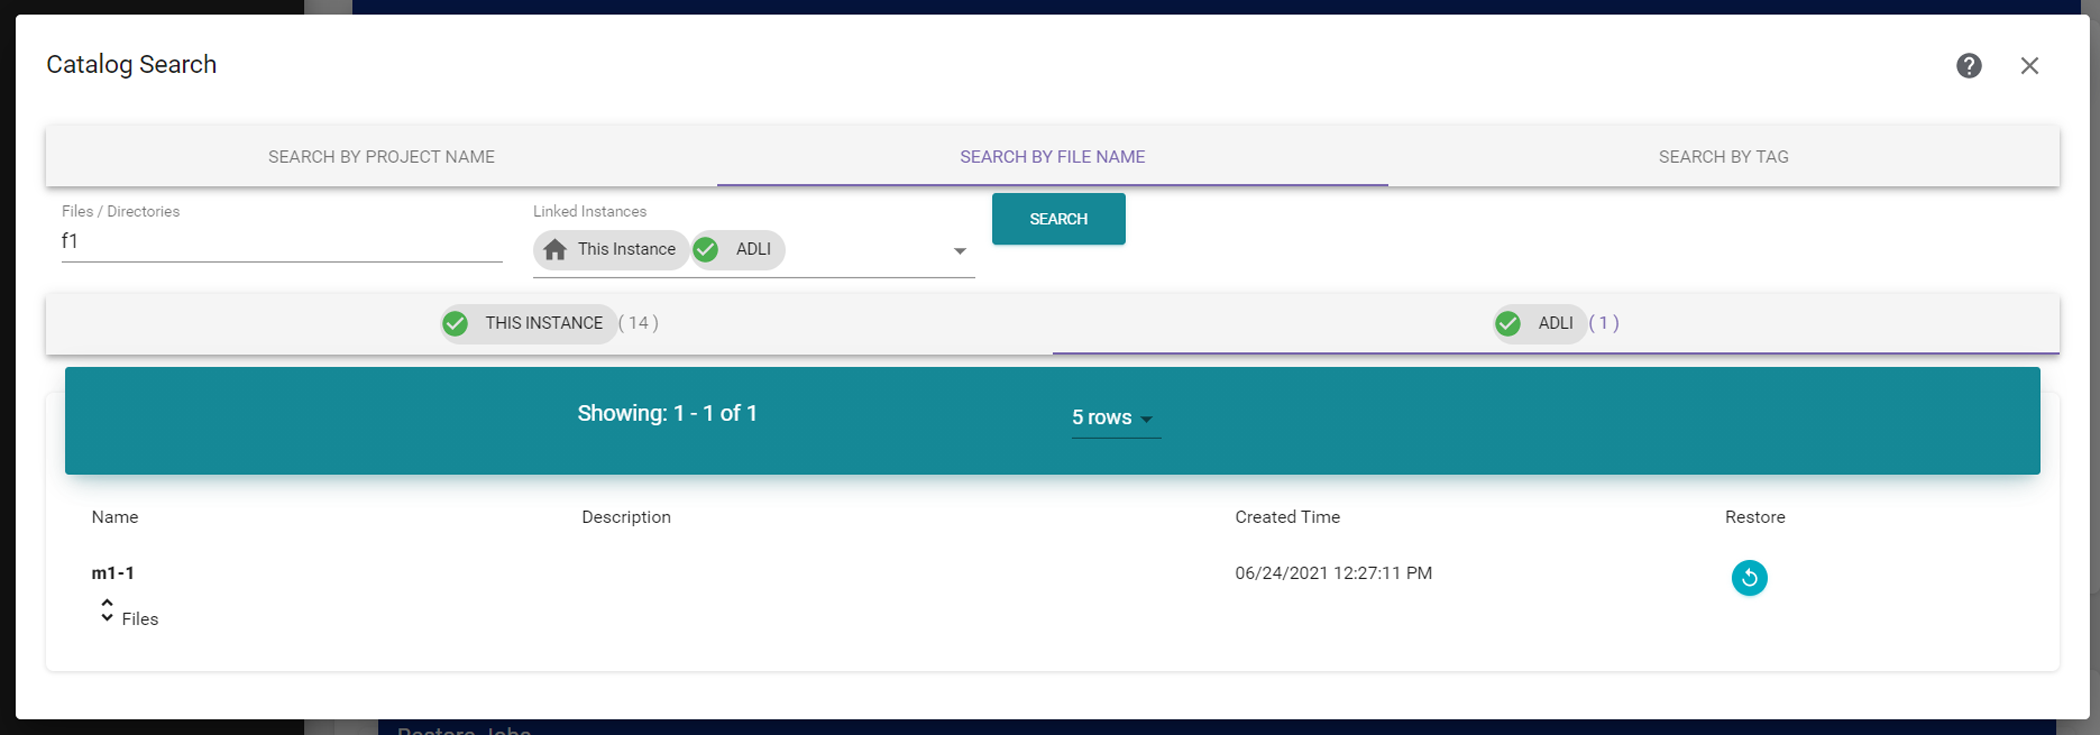
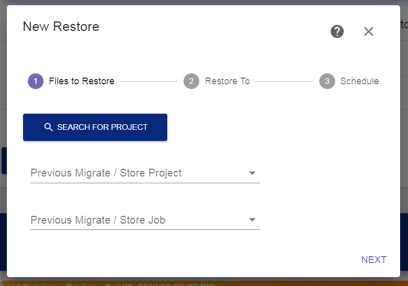
Restore Wizard—Files to Restore
The Files to Restore screen of the Restore wizard allows you to select from which migrate / store project to restore files.
|
|
|
Figure 86 The Files to Restore screen of the Restore wizard. |
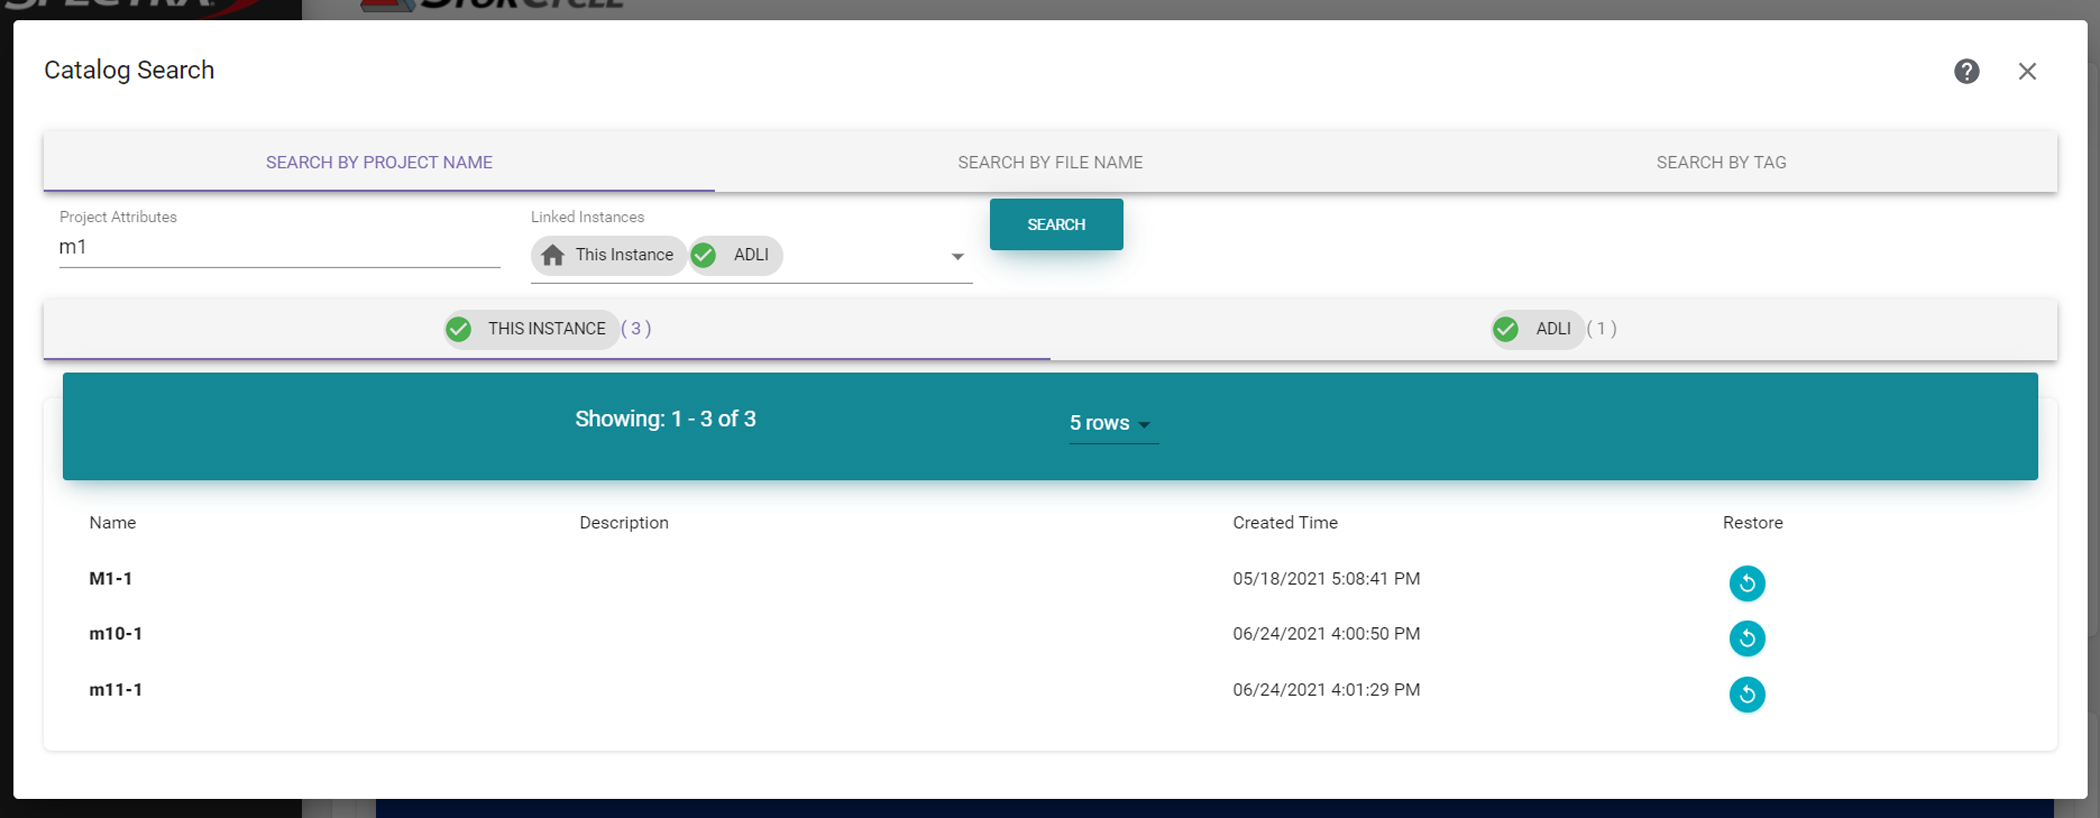
 next to the job from which you want to restore files.