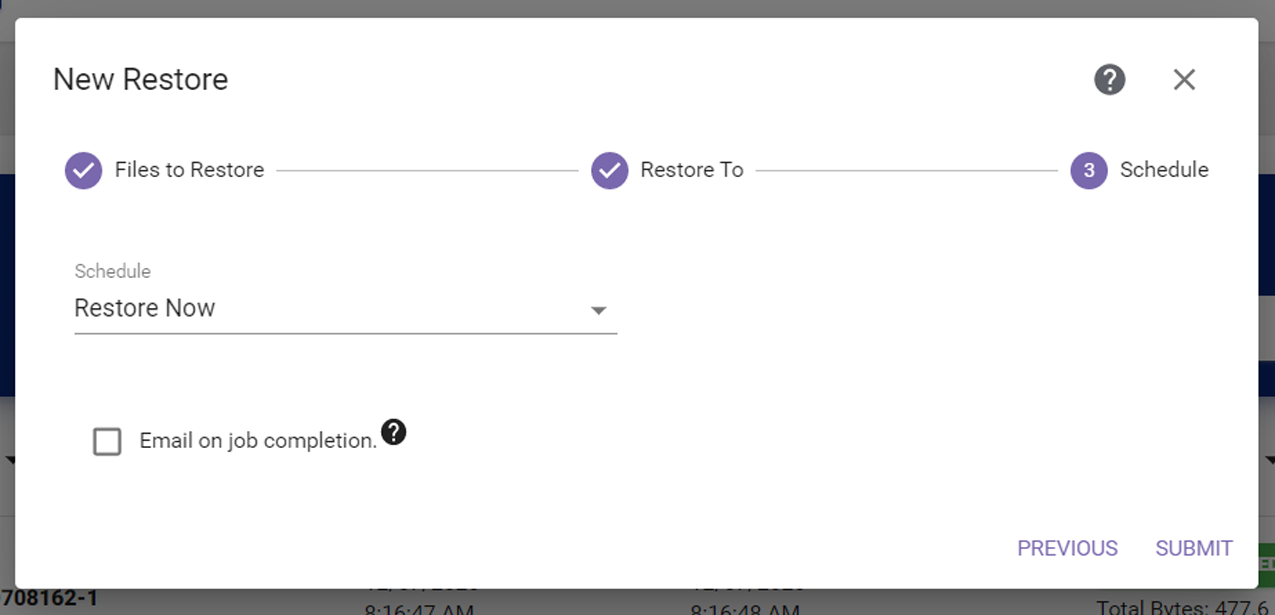
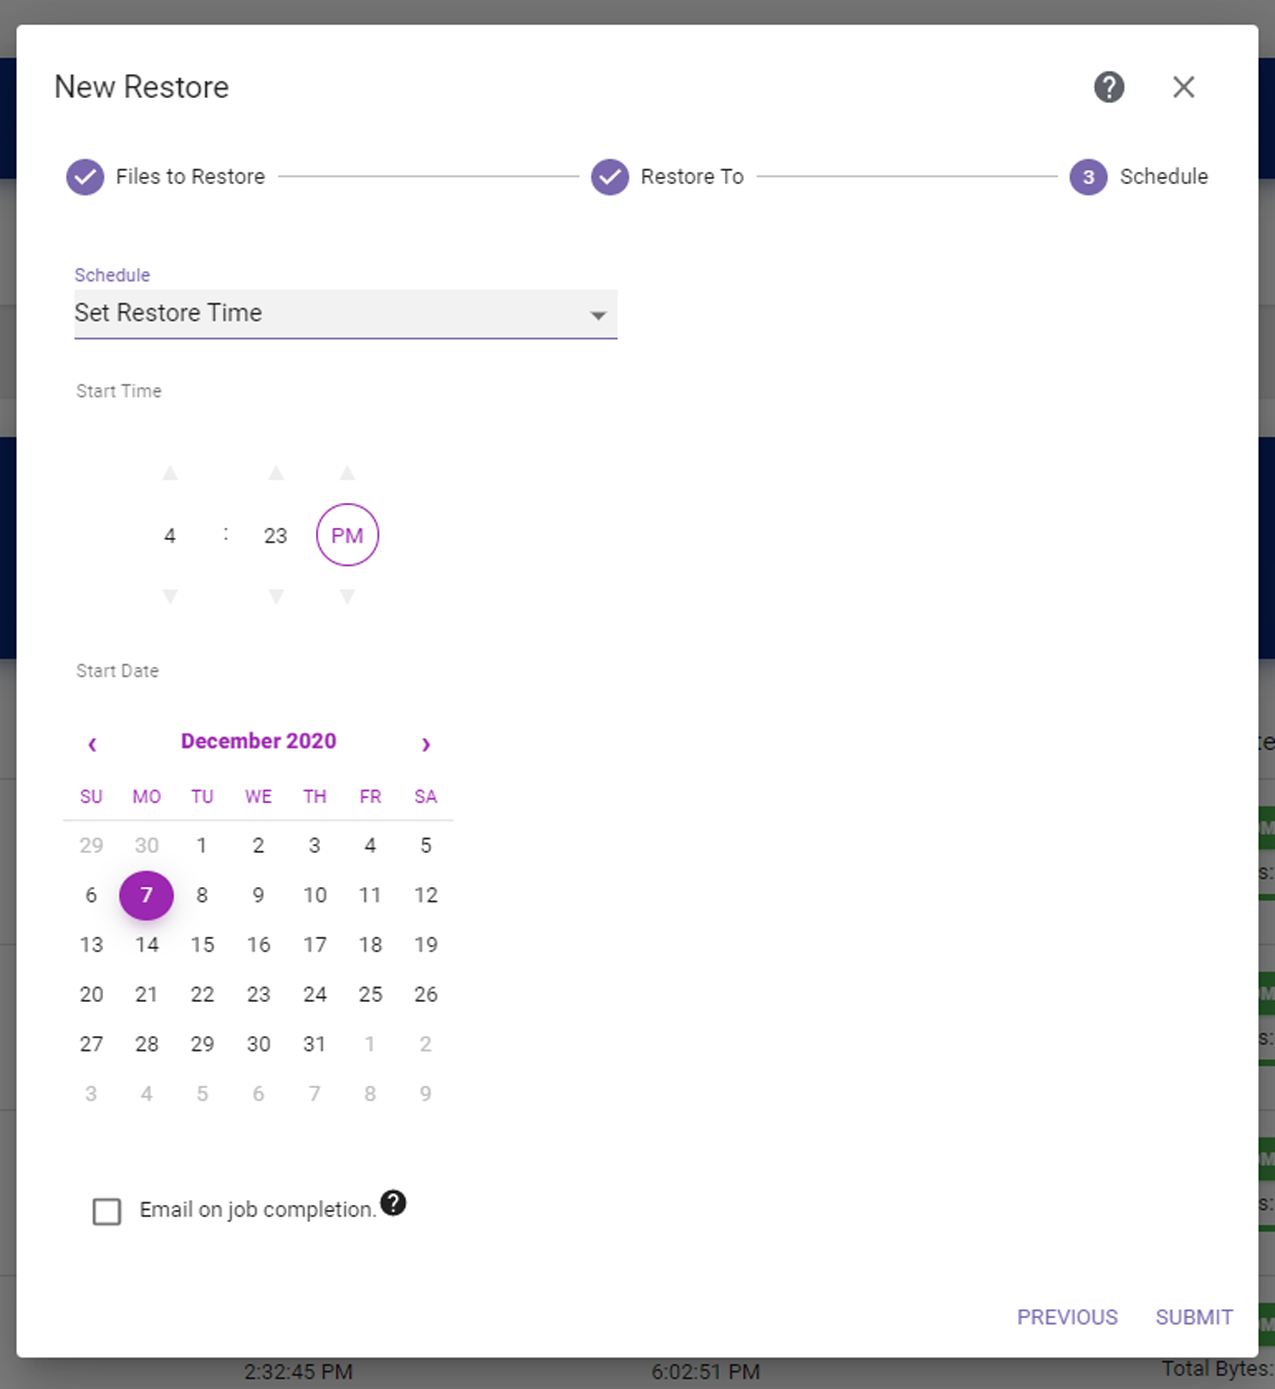
If you select Set Restore Time, the dialog box updates to display the following fields:
|
1.
|
Use the up and down arrows to select the Start Time for executing the restore. |
|
2.
|
Using the calendar, select the Start Date on which to execute the restore. |
|
3.
|
If desired, select the Email on job completion check box to have an email sent to the logged in user when the restore completes. |
|
4.
|
Click Submit to save the project. The project runs as scheduled. |
While the job is active, hovering over the total bytes for the job in the Restore Jobs section of the Restore screen displays the scan performance, see Figure 104.