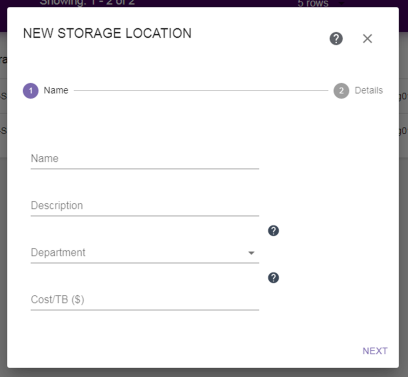
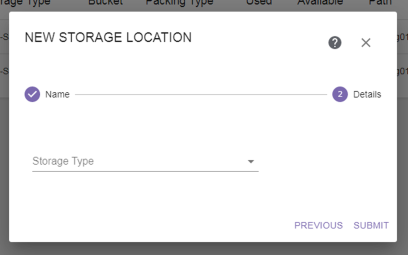
Use the instructions below to configure a new storage location.
IMPORTANT |
The StorCycle solution runs on Windows servers and supports CIFS/SMB networked storage or runs on Linux servers and supports NFS-protocol storage. |
Note: | Storage locations cannot be deleted after they are used in a project, but can be hidden from the Storage screen. See Delete a Storage Location for more information. |
1. | Click the Settings icon (gear) in the toolbar and then select Storage. The Storage screen displays showing all storage locations currently configured in the software. |
|
2. | Click New Storage Location. The New Storage Location dialog box displays. |
a. | Enter a unique Name for the storage location. |
b. | If desired, enter a Description for the storage location. |
c. | If desired, use the drop-down list to select the Department responsible for the storage location costs. To create a department, see Configure Departments. |
d. | If desired, enter the Cost/TB to use for storage location costs. |
Note: | See Configure Global Settings to change the currency. |
e. | Click Next. The New Storage Location—Details screen displays. |
|
Figure 34 The New Storage Location dialog box. |
f. | Use the drop-down list to select the Storage Type. |
Depending on the storage type selected, the dialog box updates to show the configuration fields required for that storage type. Continue with the applicable section below:
• | Enter BlackPearl Storage Location Information |
• | Enter Spectra NAS Storage Location Information |
• | Enter Non-Spectra NAS Storage Location Information |
• | Enter Amazon S3 Storage Location Information |
• | Enter Amazon S3 Glacier Storage Location Information |